

Create a live event
You need an event before you can preview or test anything. Create it first, then fill in the rest on the editing page.
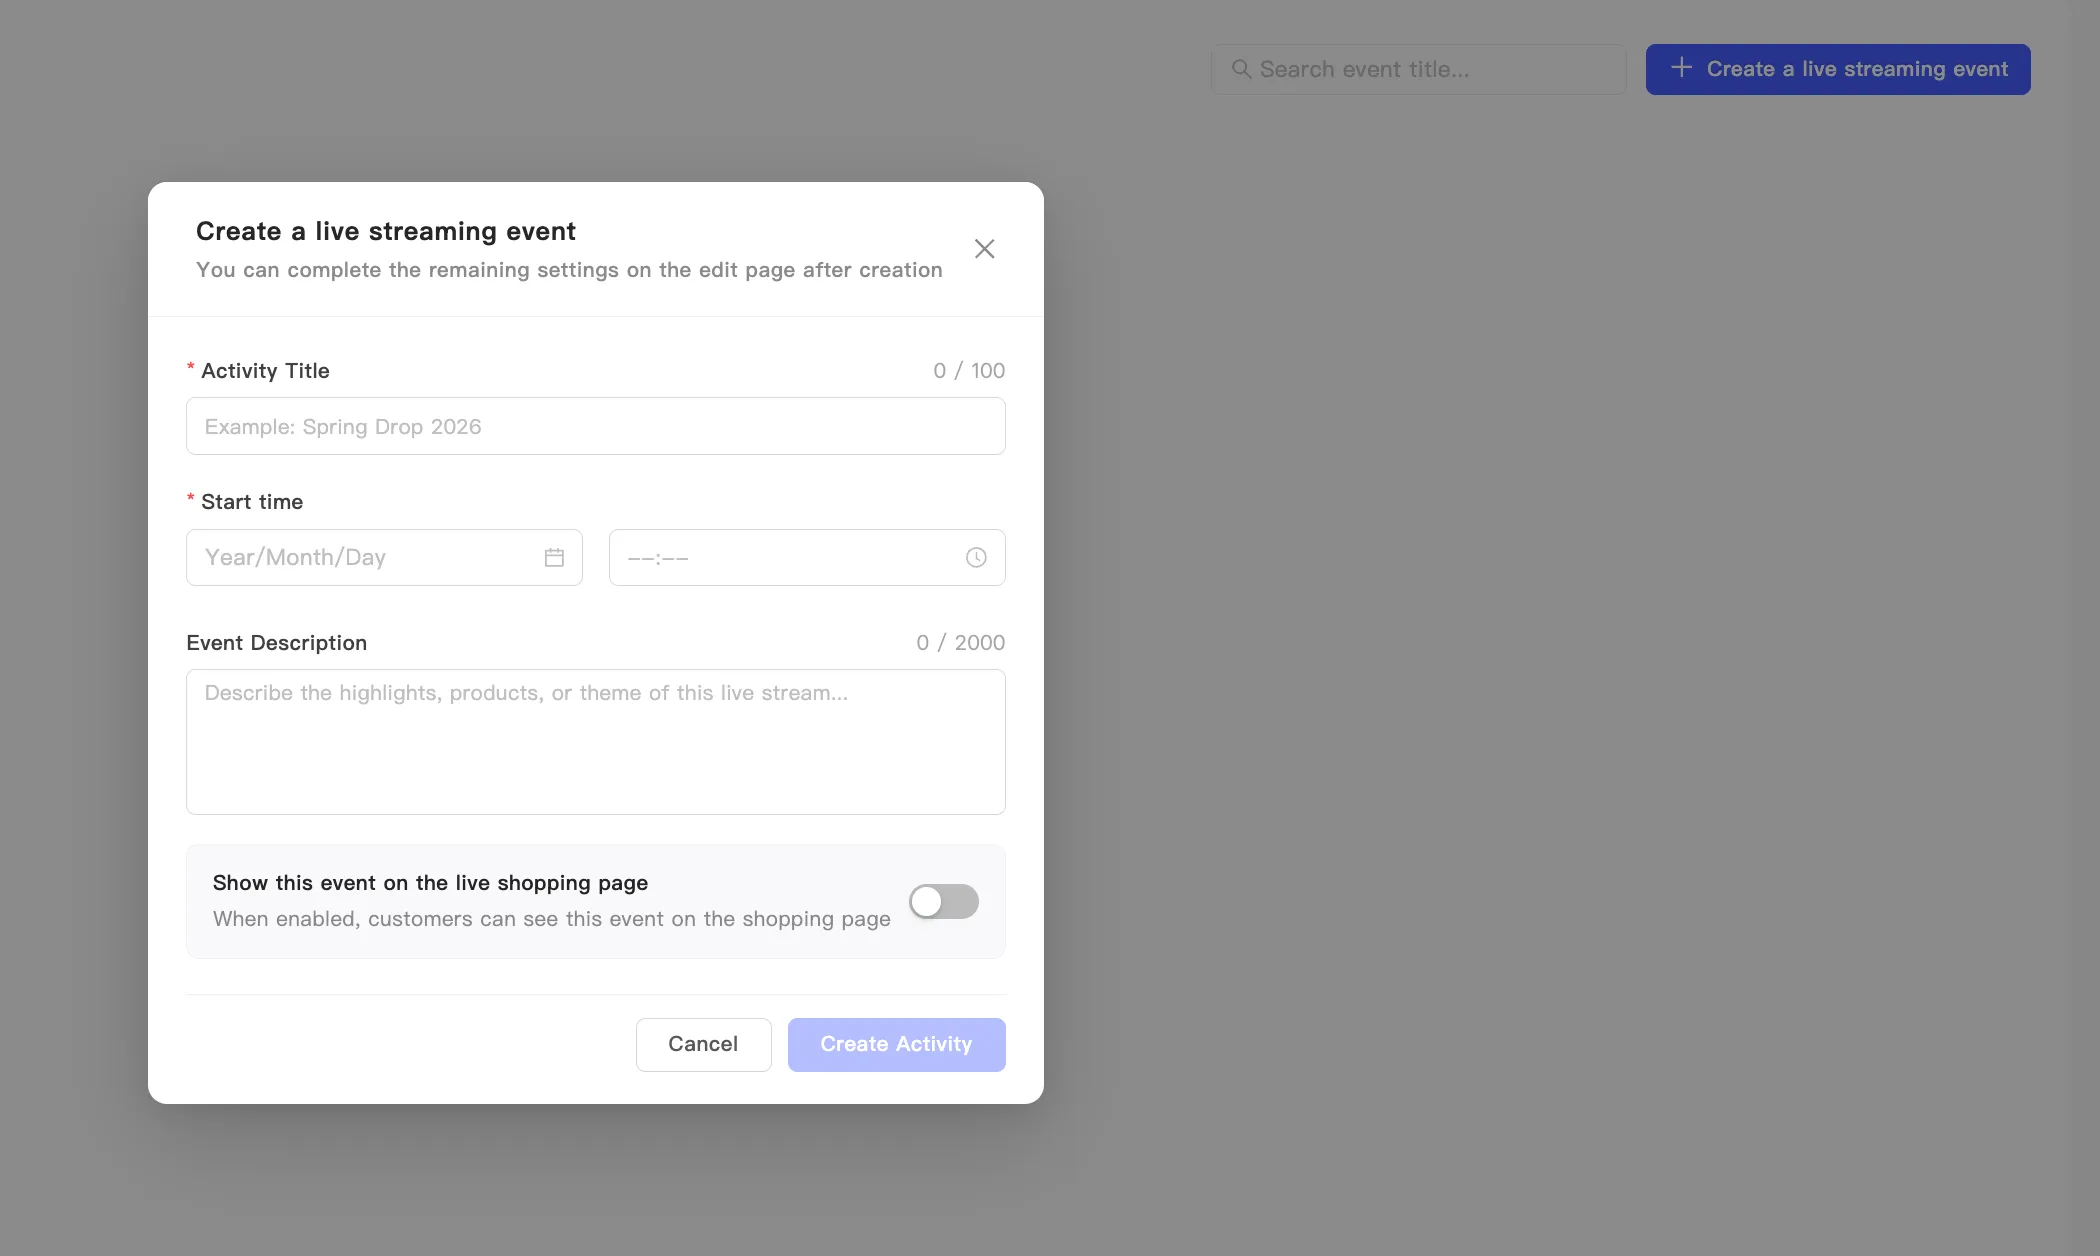
- Open the events page and click Create a live streaming event.
- Fill in Activity Title. Required, up to 100 characters.
- Pick the date and time under Start time. Required.
- Fill in Event Description. Optional, up to 2000 characters. Use it to introduce the highlights, products, or theme of the broadcast.
- Turn on Show this event on the live shopping page if you want shoppers to see the event right away. Off by default.
- Click Create Activity.
A new event inherits the last one’s settings
Section titled “A new event inherits the last one’s settings”Every new event picks up all the settings from your previous event. Colors, fonts, and message copy carry over, so you do not reconfigure them each time.
From your second event on, the dialog only needs a title and a start time. Open the editing page and you will find the product card style, chat opening remarks, and cover image still set the way you left them. Change anything there and the change applies to this event only. It never writes back to earlier events.
Only the Settings tab carries over. The product list does not. Add products to every event separately. See Add products to a live event.